An artist’s guide for surviving the apocalypse. Or getting lost in the woods.
*Survival

* For the record, I’m not a prepper. I actually would not last a week either lost in the woods or in the midst of a zombie apocalypse.
We are feeling stressed by the Anthropocene. The anxiety of changes in our climate, the loss of small frogs, birds, unnoticed insects, coral reefs, native plants that secure the earth in place.
So many changes so fast. We can feel the world rushing frantically forward and the inevitability of some manner of brick wall ahead, to slam into, to force humans to pause because we are unable to pause on our own.
Will it be a climate catastrophe? A new, stronger virus? A zombie apocalypse! An AI uprising? Or an invasion from another galaxy….
Regardless, take notes so you can survive the apocalypse. Or prepare, should you get lost in the woods.
In order to survive, you need to master:
WATER,
SHELTER,
FIRE and
FOOD

Catching Meat
Survival traps are a valuable tool for anyone facing a survival situation.
Deadfall traps can be set for game animals such as squirrels, rabbits, and even bears. These traps work by using weight, such as a heavy log or boulder, to crush the animal when triggered.
By placing bait near the stick that holds up the weight, the animal will trigger the deadfall when they attempt to eat.

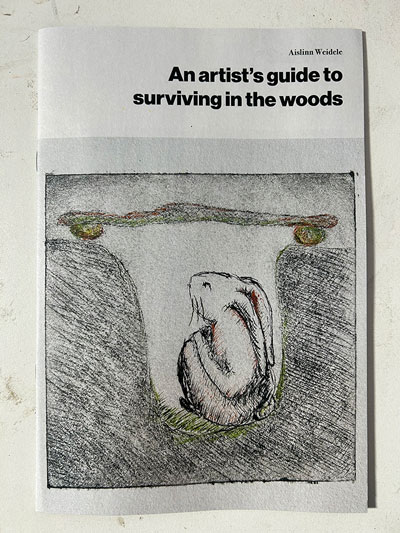
Trapping pits are deep pits dug into the ground, or built from stone, in order to trap animals.

The pit itself is covered by branches and can baited to attract a predator. The animal is attracted by the smell, falls into the pit and unable to scale the steep sides; it could then be killed.

Building Shelter
In the survival Rule of Threes, shelter falls as the second most important item.
Search out a cave, large overhang, ravine, canyon, or abandoned animal den. Large trees, both living and dead, can make cozy shelters, too.
Building Shelter
In the survival Rule of Threes, shelter falls as the second most important item.

Search out a cave, large overhang, ravine, canyon, or abandoned animal den. Large trees, both living and dead, can make cozy shelters, too.
Or build a Leaf Hut shelter. This sort of structure retains heat well without a fire and does not require special tools.

Find or cut a thick, sturdy branch ten to twelve feet long. Elevate one end about three feet off the ground by propping it on a flat rock or in a forked tree trunk. This end will be the entrance, so if possible, face it away from the wind.
Next, gather a few dozen branches ranging from one foot to three feet long and create walls by leaning them against either side of the support pole. For added stability, strip bark or twist plant fibers into rope and tie the branches in place.
Finally, pile leaves against both sides in layers about three feet thick.
Water
Collecting Water
Rainwater in most rural areas can usually be consumed without risk of disease or illness. If it rains, use any and all containers you can get your hands on to collect it.


You can collect water by making a below ground still. To do this, you’ll need plastic sheeting, a digging tool, a container and a rock.
The moisture from the ground reacts with the heat from the sun to produce condensation on the plastic. The still forces the condensation to run down the plastic and into your container.
Boil your water.
To filter out chemical impurities in water, you can create a charcoal filter.
Start with an empty vessel – like a 2-litre plastic soda bottle. Going from bottom to top, the water filter layers go:
1. Tight-knit cloth or coffee filter: This layer stops any charcoal pieces from getting into the water collection vessel.
2. Activated charcoal: This is the layer which will absorb chemical impurities from the water.
3. Sand: It’s also possible to used smashed-up pieces of brick for this.
4. Small pebbles: These will filter out larger pieces of debris which the previous layer missed.
5. Larger pebbles and/or grass: This layer catches large pieces of debris in the water.
Fire

Get your tinder ready. Some natural tinder options are cedar bark shavings, birch bark, dry grass, dead pine needles, dead juniper bush needles, pine tree pitch, cattail down or seedlings from other plants.
Lenses
For this approach, all you need is some kind of lens to center daylight on a particular spot. A magnifying glass or binocular lens both work. Hold the magnifying glass between the sun and the tinder. Look for the bright dot that appears. Tilt the magnifying glass so that the dot is over the tinder and about a quarter-inch in diameter. Focus the dot for 30 seconds to a minute. As with other methods of fire starting, patience is key! Once the tinder starts smoking, gently blow to get the flame going.
The fire plow is another common method using minimal tools. All you’ll need is a softer wood for the plow board and a harder wood for the plow. Willow and poplar make good plow board material.

Set up your fireplace and cut a groove about one inch wide and six to eight inches long down the board. Find a piece of hardwood about one foot long and carve it to a point at the end.
Rub. Take the head of your plow and place it on your fireboard. Begin rubbing the tip of the plow back and forth in the grove. This will create small pits of dust.
Raise the board. Raise the top of the board and rest it on your knee, so that the dust collects at the bottom.
Intensify the motion. Once a small pile of dust has collected at the bottom, rub the plow quickly and with force in the groove until the dust smolders.
Transfer the flame to the tinder. Once the dust is alight, transfer it to the tinder and gently blow to start your fire.
good luck!